Have you heard the term “invitation suite” and had no idea what it meant? You are not alone! There are a handful of terms that can sound the same or confuse you when talking with a wedding industry expert. I've compiled a helpful guide outlining these terms and what exactly an invitation suite contains.
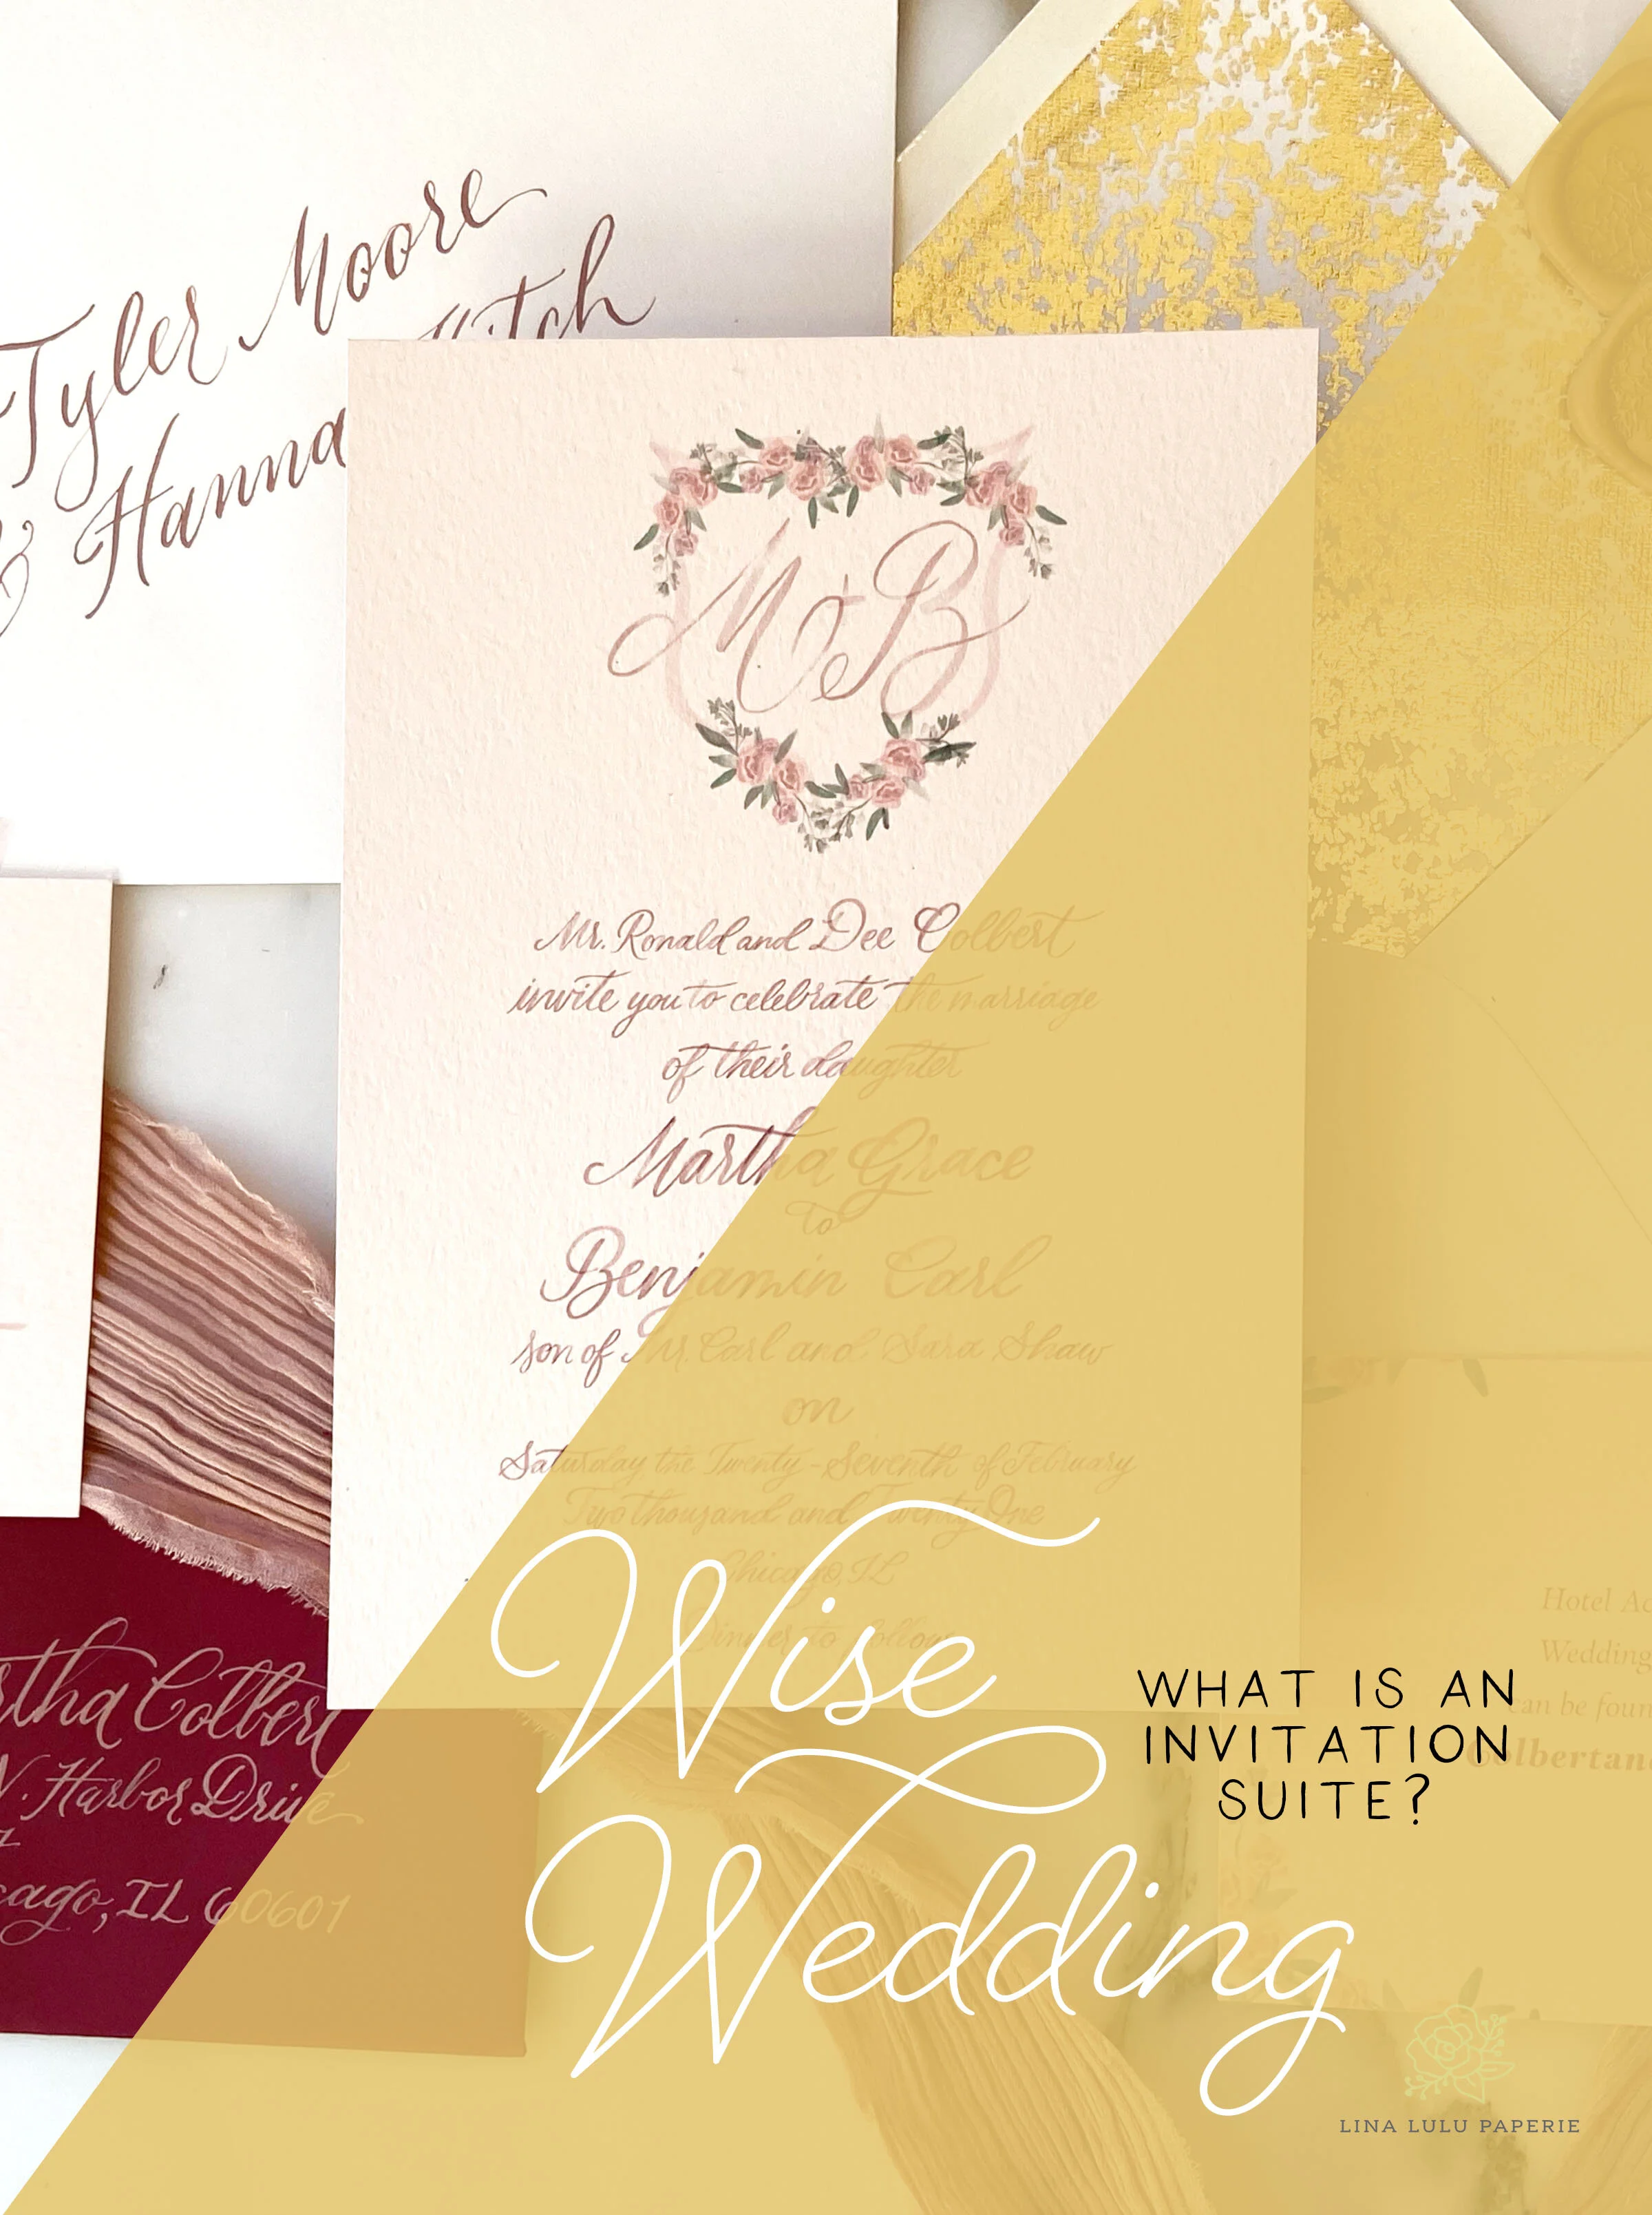
Why call it a suite?
The term “suite” refers to a set or a number of things forming a series. Thus your invitation suite is the set of paper items letting your guests know the information for your big day. It should always include the invite and an RSVP card, as well as a card for important information like directions and accommodations.

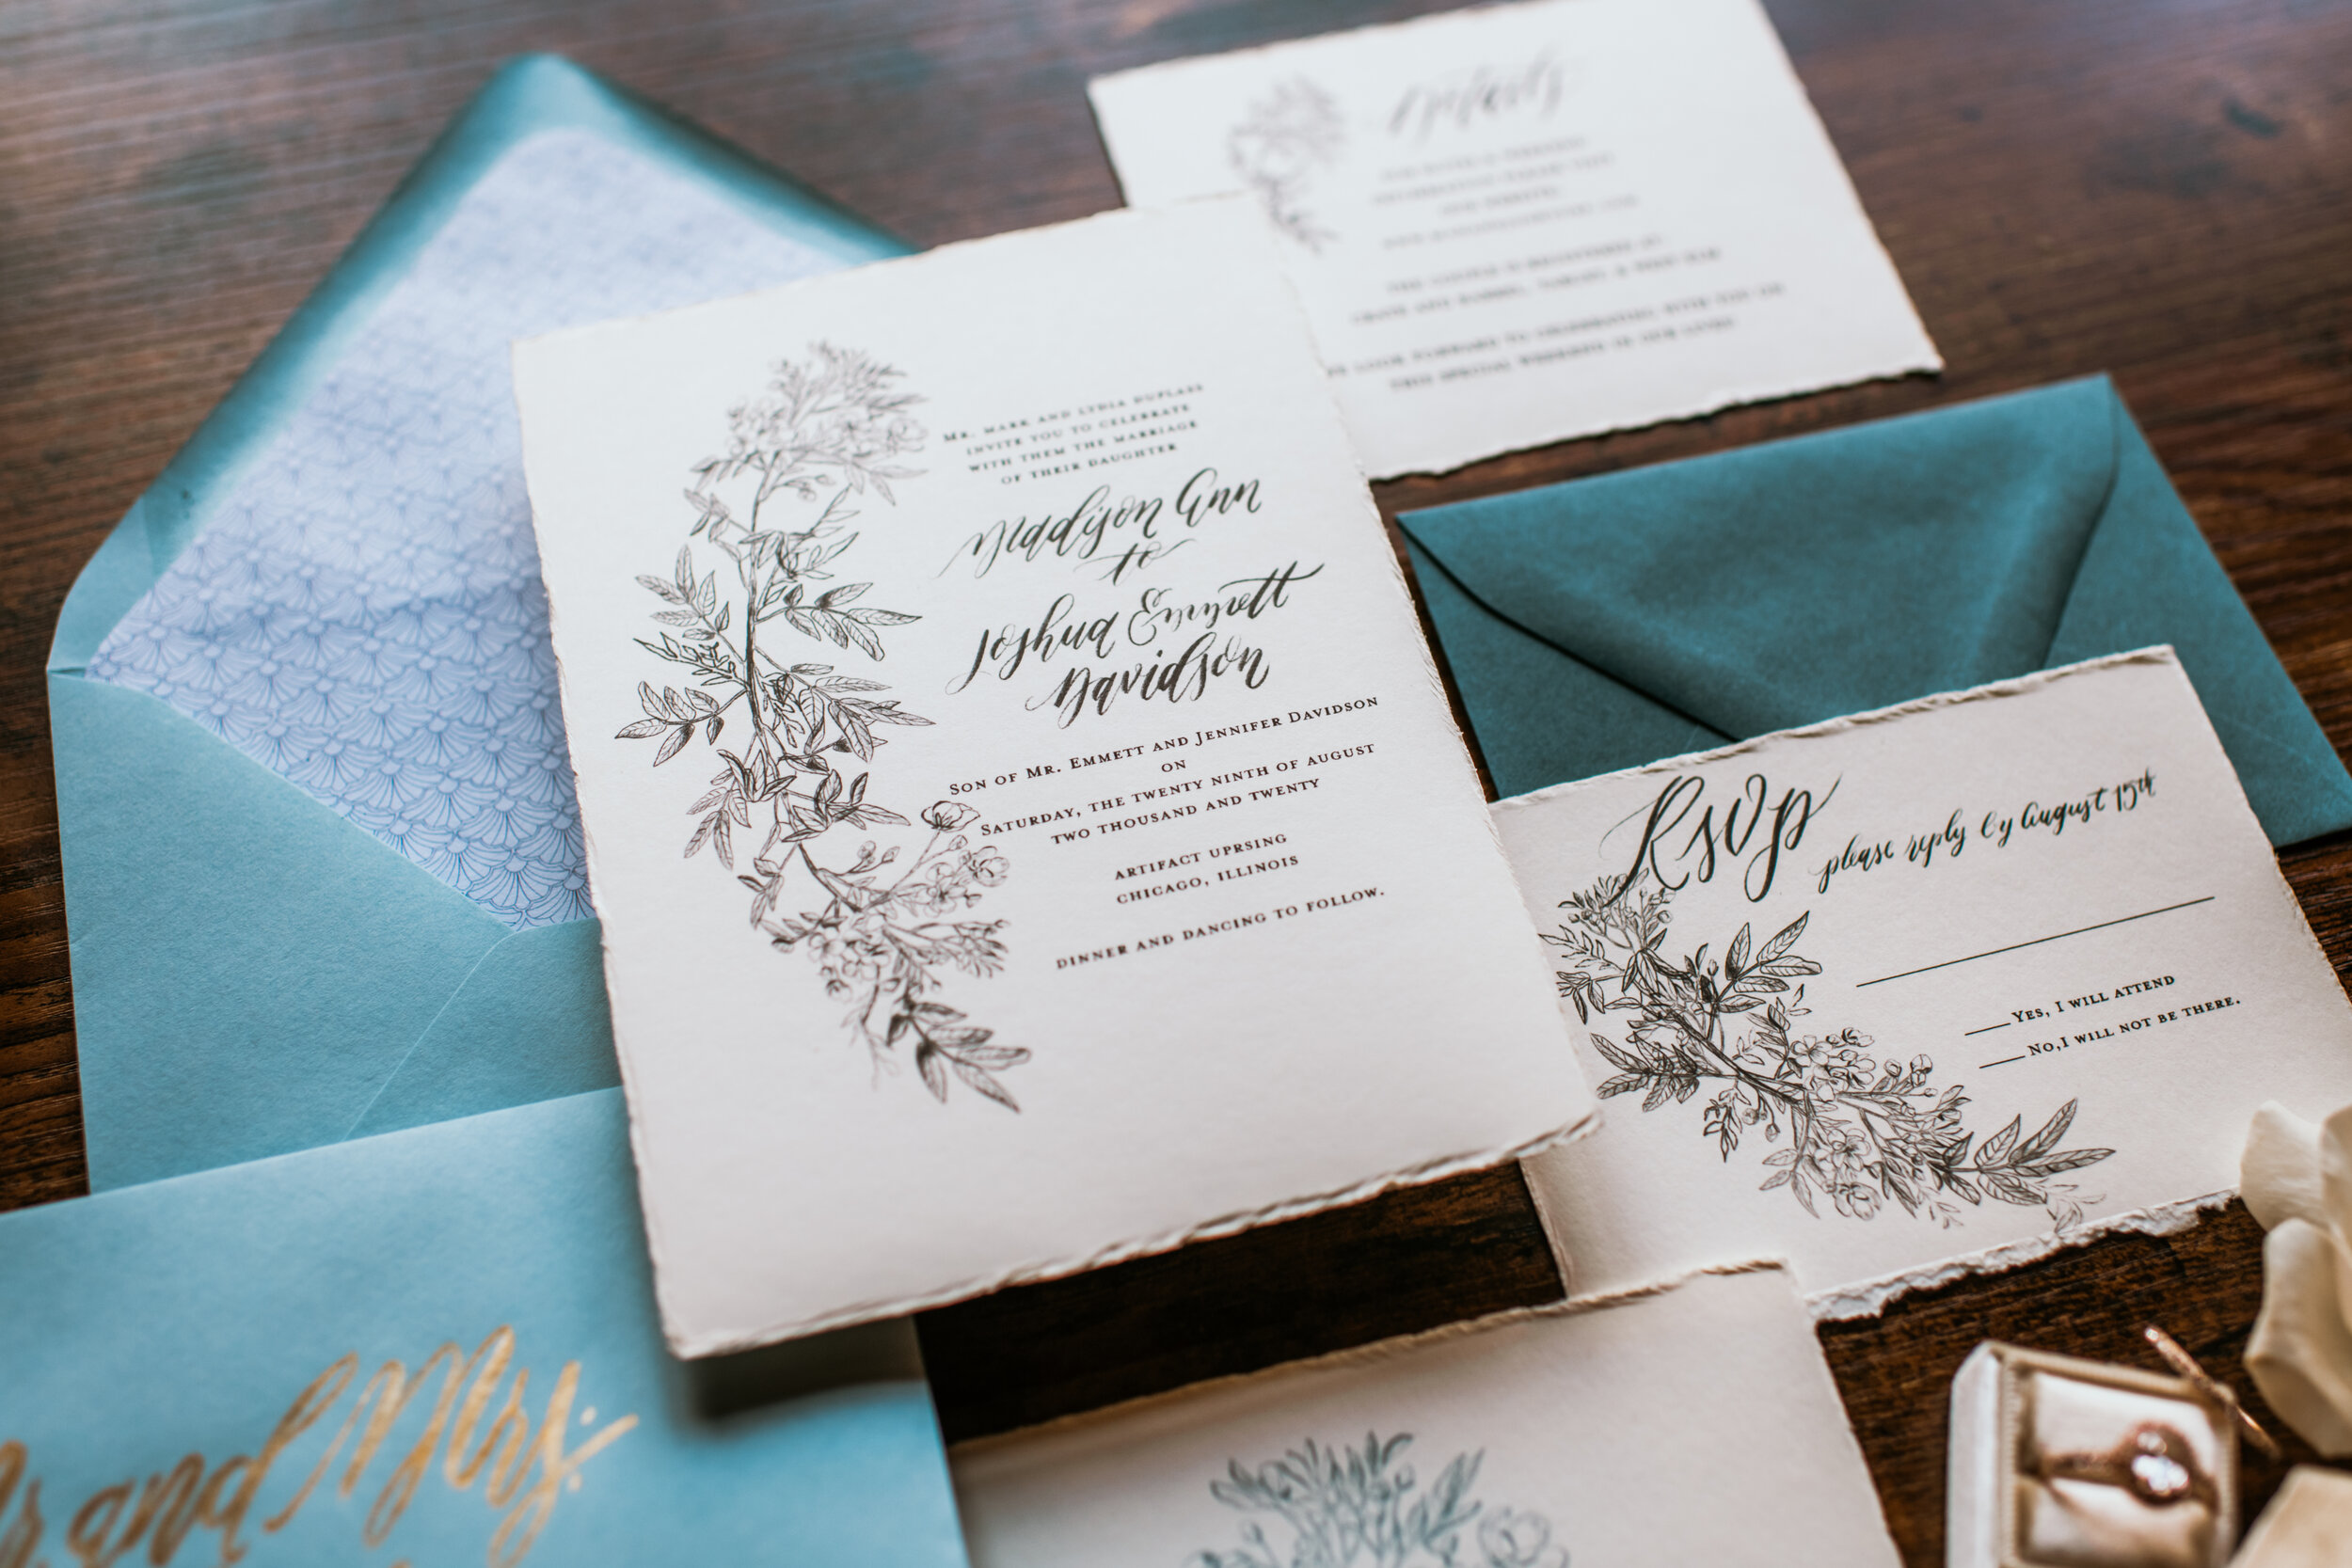
The basic wedding invitation suite consists of:
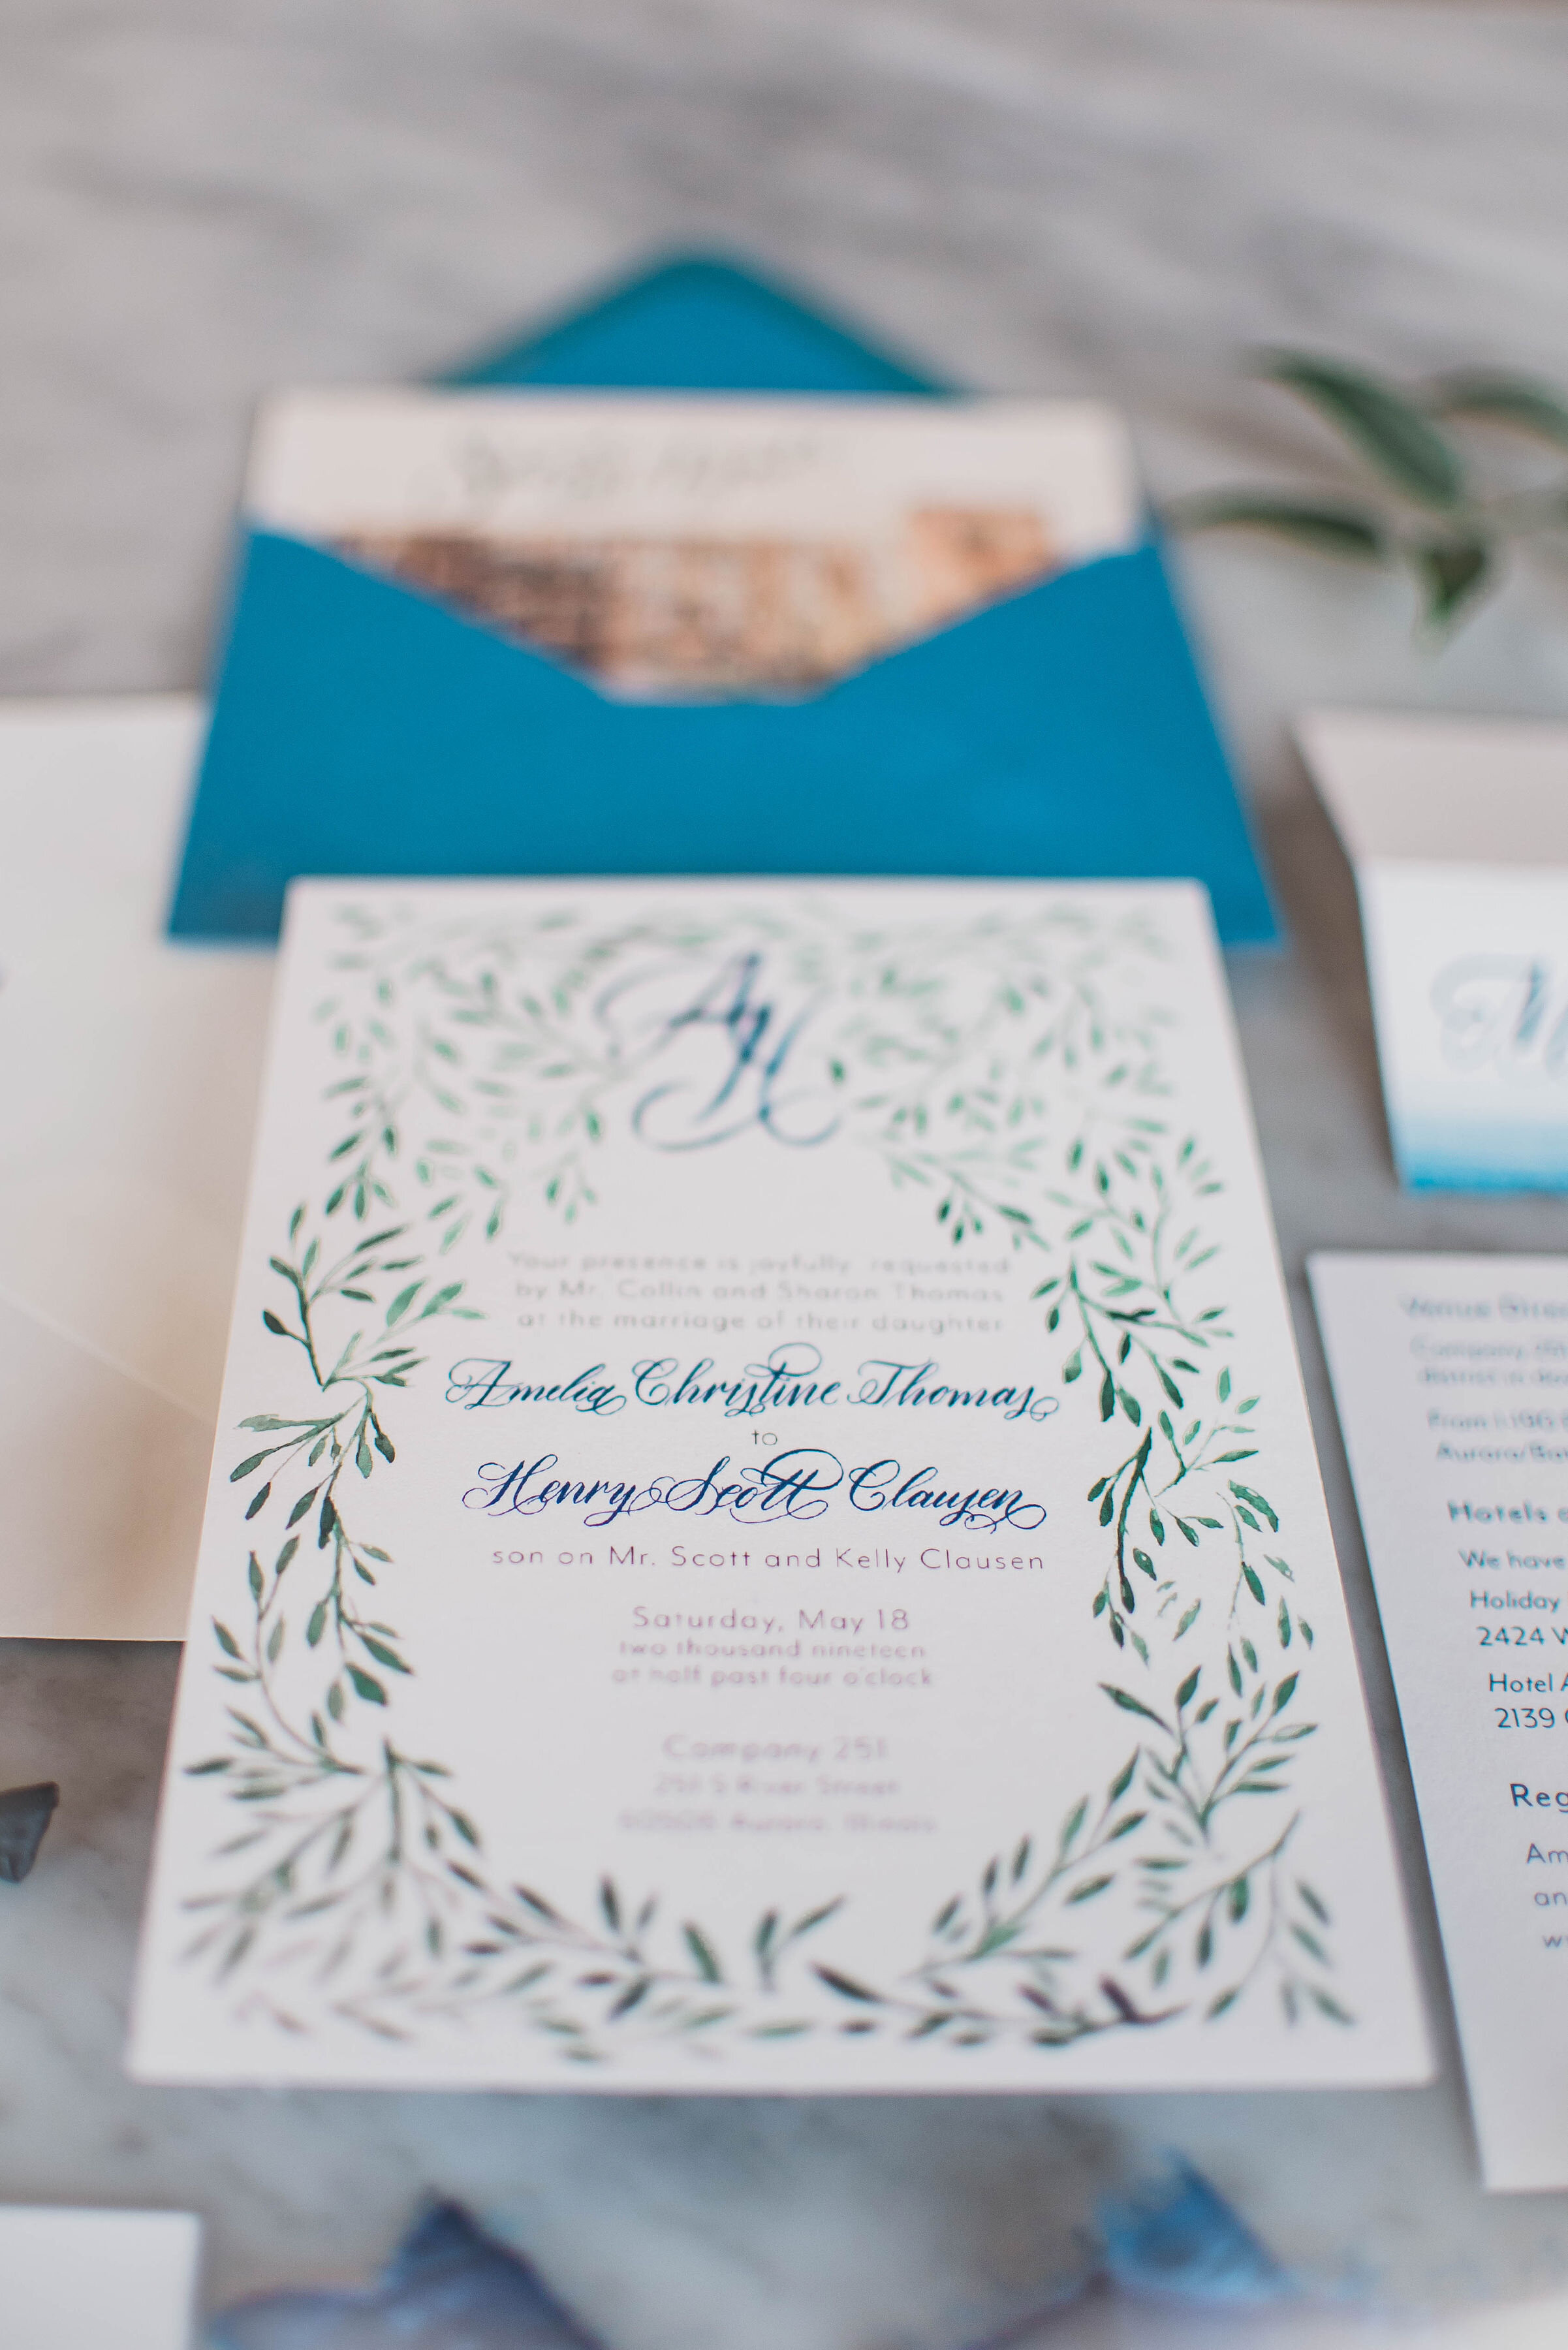
1. Your invitation—which is the largest piece–includes the key information of your name’s, wedding date and time, venue, and can include the ceremony venue address without a zip code.
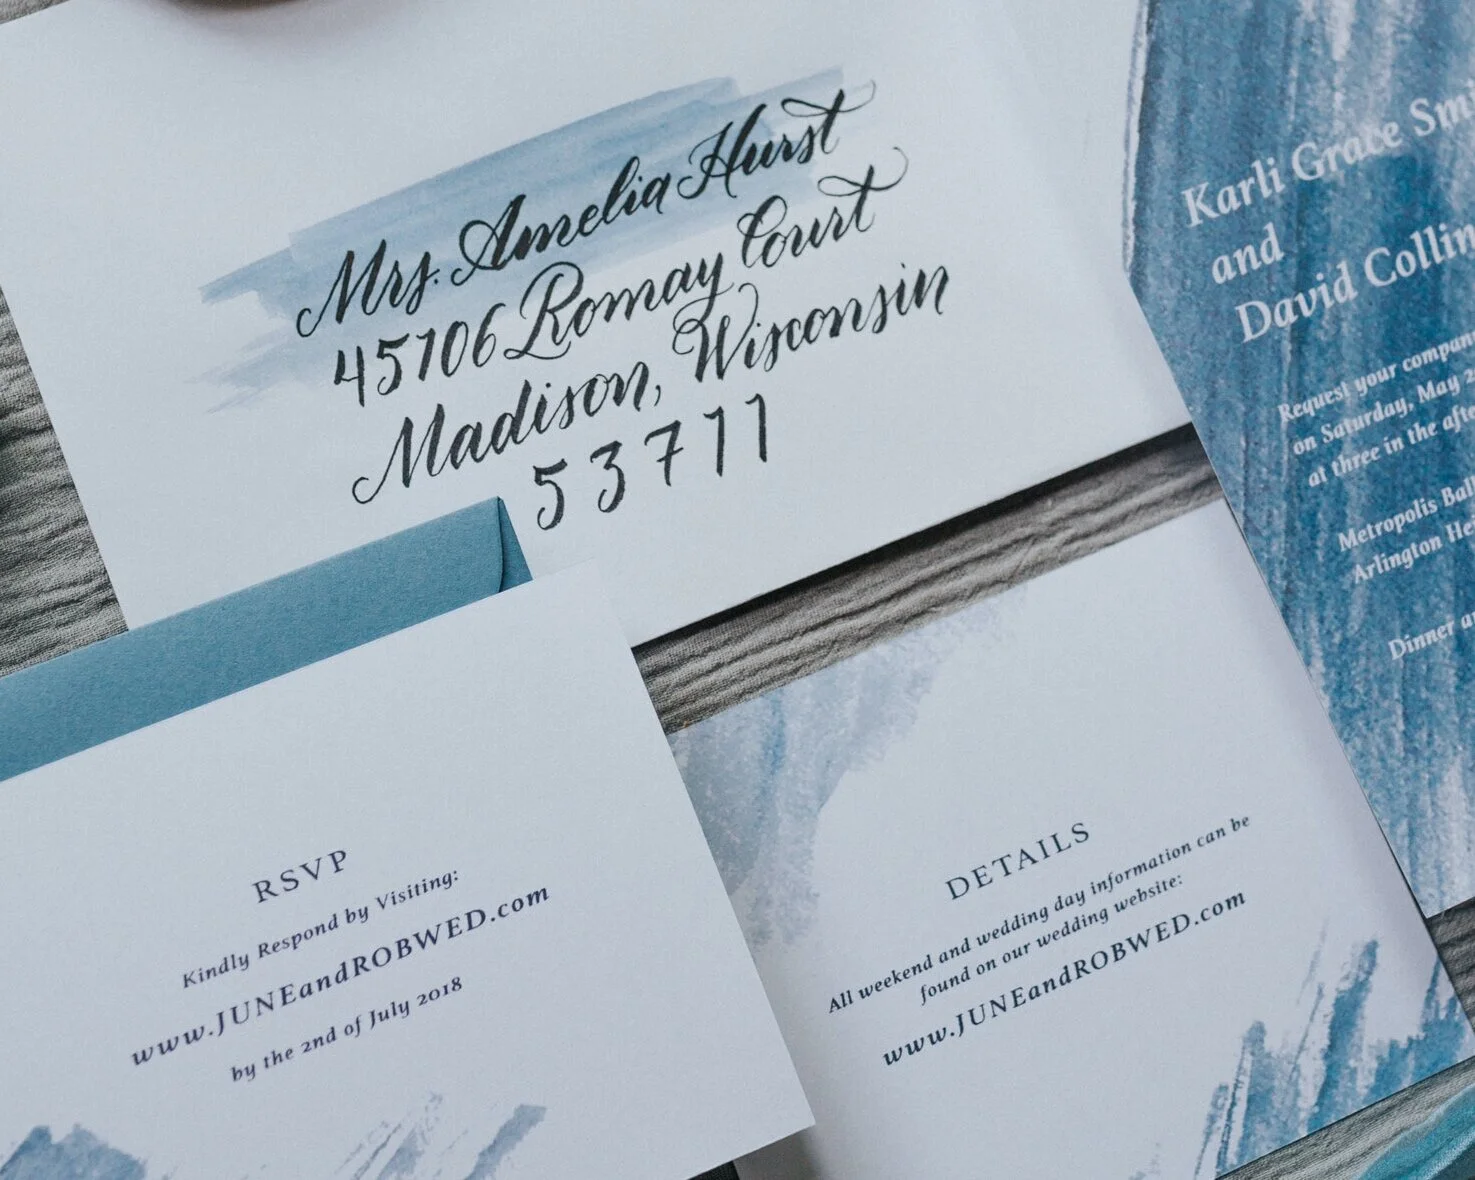
2. The outer mailing envelope is the largest envelope and is addressed in the style of your choosing—printed or hand calligraphy—to your guests. These can be white or for a more fun touch a color or metallic of your choice.
3. The details card includes reception venue name, address, reception start time, and accommodations info such as where you have hotel room blocks. You may also include your website at the bottom of this card or registry information.
A second card (that you may or may not need) can be included with such information as directions, travel arrangements, or other pertinent information for guests. ( See optional items to include below)*
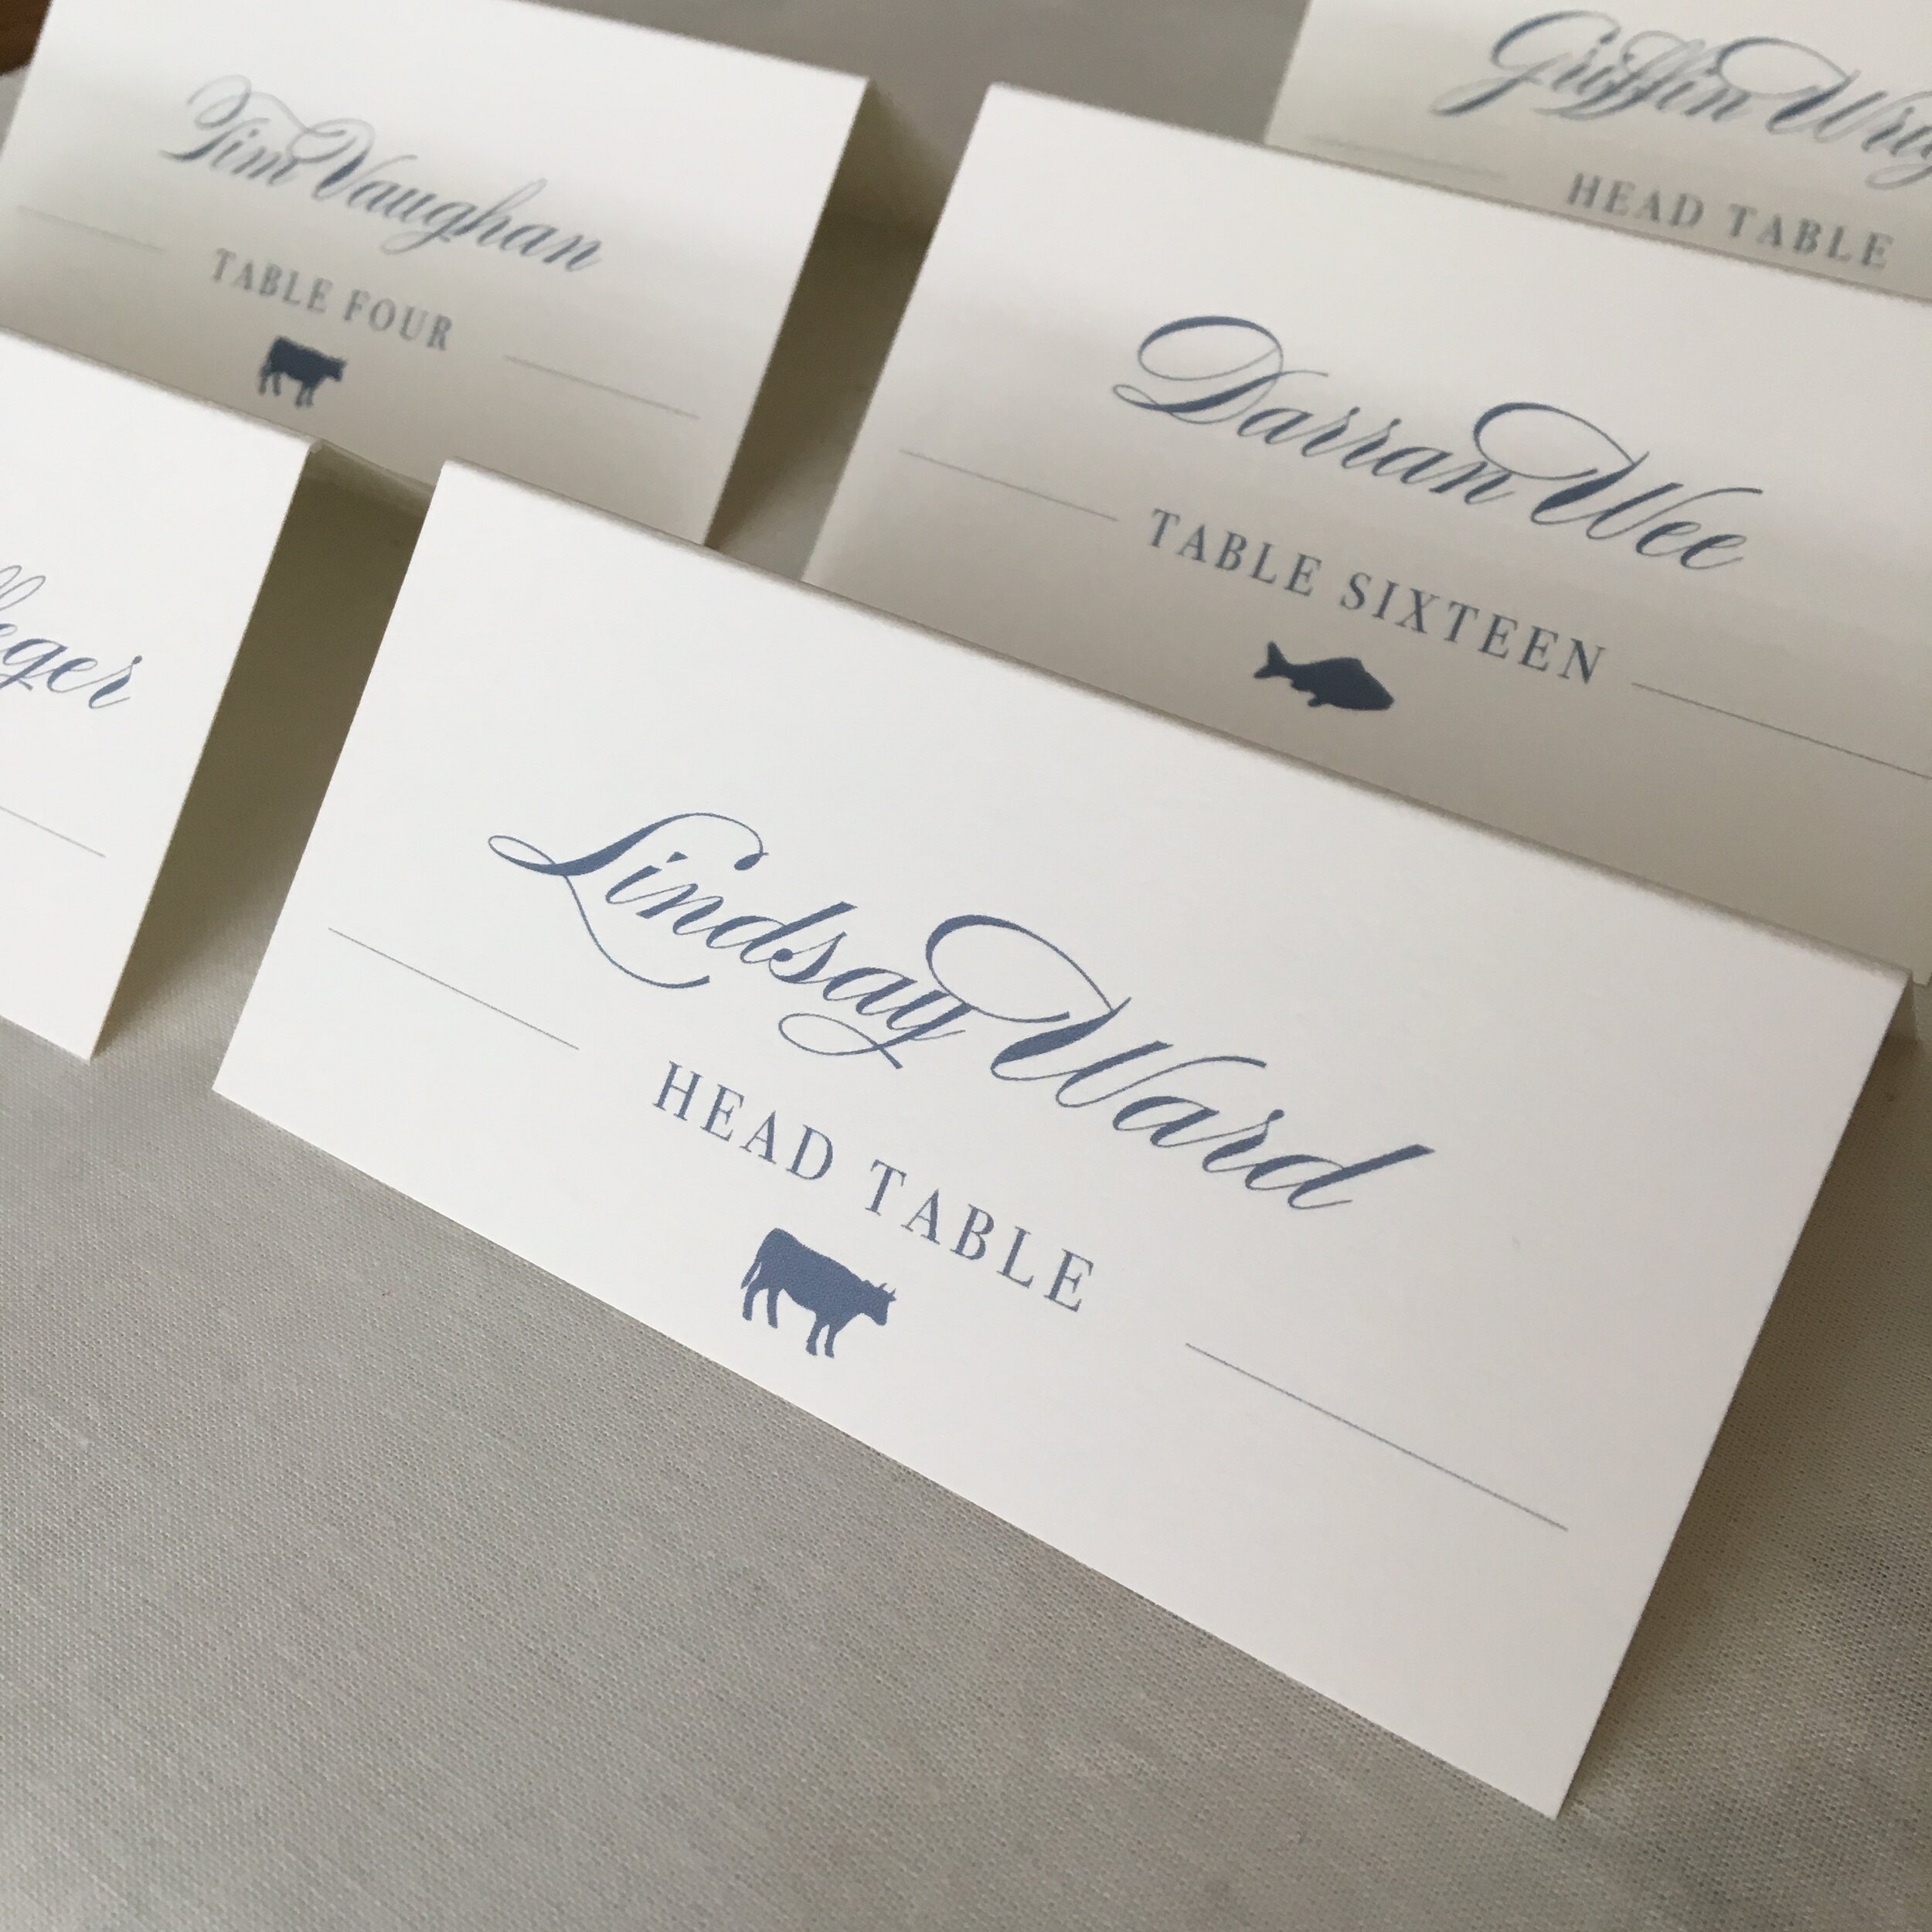
4. The RSVP card is a smaller card to allow guests to write their name(s) and let you know if they are attending. You may also include a space for meal choice, song requests, or website information.
5. The RSVP envelope is the smallest envelope and should always include an address that goes back to you or the coordinator of the guestlist. (Don’t forget to place a stamp on this so your guests can easily drop them back in the mail to you.)
Other items you can include in your invitation suite*
Inner Envelope
An inner envelope can be used to tell guests who is (and is not) invited to your big day. The envelope is slightly smaller than the mailing envelope and holds the invitation suite inside. This is traditionally used in more formal weddings but allows you to clearly state who you are expecting to show up. Examples include your Guests’ names and noting if they have a plus one (i.e. Mr. Robert Smith & Guest). This is also the place to indicate whether or not children are invited by just writing the parent’s names.
Weekend Details Card
If you have multiple events going on during your wedding weekend, such as a brunch, welcome drinks, after party, etc. include a weekend details card. You want to have your guest know what to expect as well as what to pack appropriately for all the different social events.

Invitation Wrapper
An invitation wrapper is not necessary but is a beautiful and practical addition to your suite. This “wrapper” can be twine, ribbon (Seen in the picture on the left), a belly band, a folder, or even a layer of vellum wrapped around the invite. It is a beautiful accent to keep all the contents of your invite safely together when being mailed.
Website Card
You can include your wedding website on your details card or include a smaller card with just the web address. If you choose to have a website, which is a helpful resource for your guests, include as much information and details of your weekend/wedding there. This will cut down on how many text and phone calls you and your parents will receive from loved ones about your big day.
Envelope Liner
An envelope liner is a beautiful insert to your mailing envelope that allows you to add an additional splash of color, pattern, or shimmer to your invitations. It is also a fun surprise for your guests. It adds additional weight and quality to your overall invite.
Directions/Maps
Including an insert for directions or a map is great for a destination wedding or if you have multiple events happening in the weekend and need an easy guide for your guests. These can be done simply or more elaborate with watercolor features and illustrations. These beautiful pieces are not only functional but can be a keep-sake of your wedding to be framed.

Wax Seal
A popular but beautiful new trend includes the wax seal (Pictured below). These small but impactful pieces are a fun and elegant way to add color, texture, or even your monogram to your envelopes or invitation. They can be used on an invitation wrap, on the inner envelope, or on the outer envelope. If you use them on the outer envelope, know that the suite then must be hand canceled by the post office as they are not always read by the modern machines.
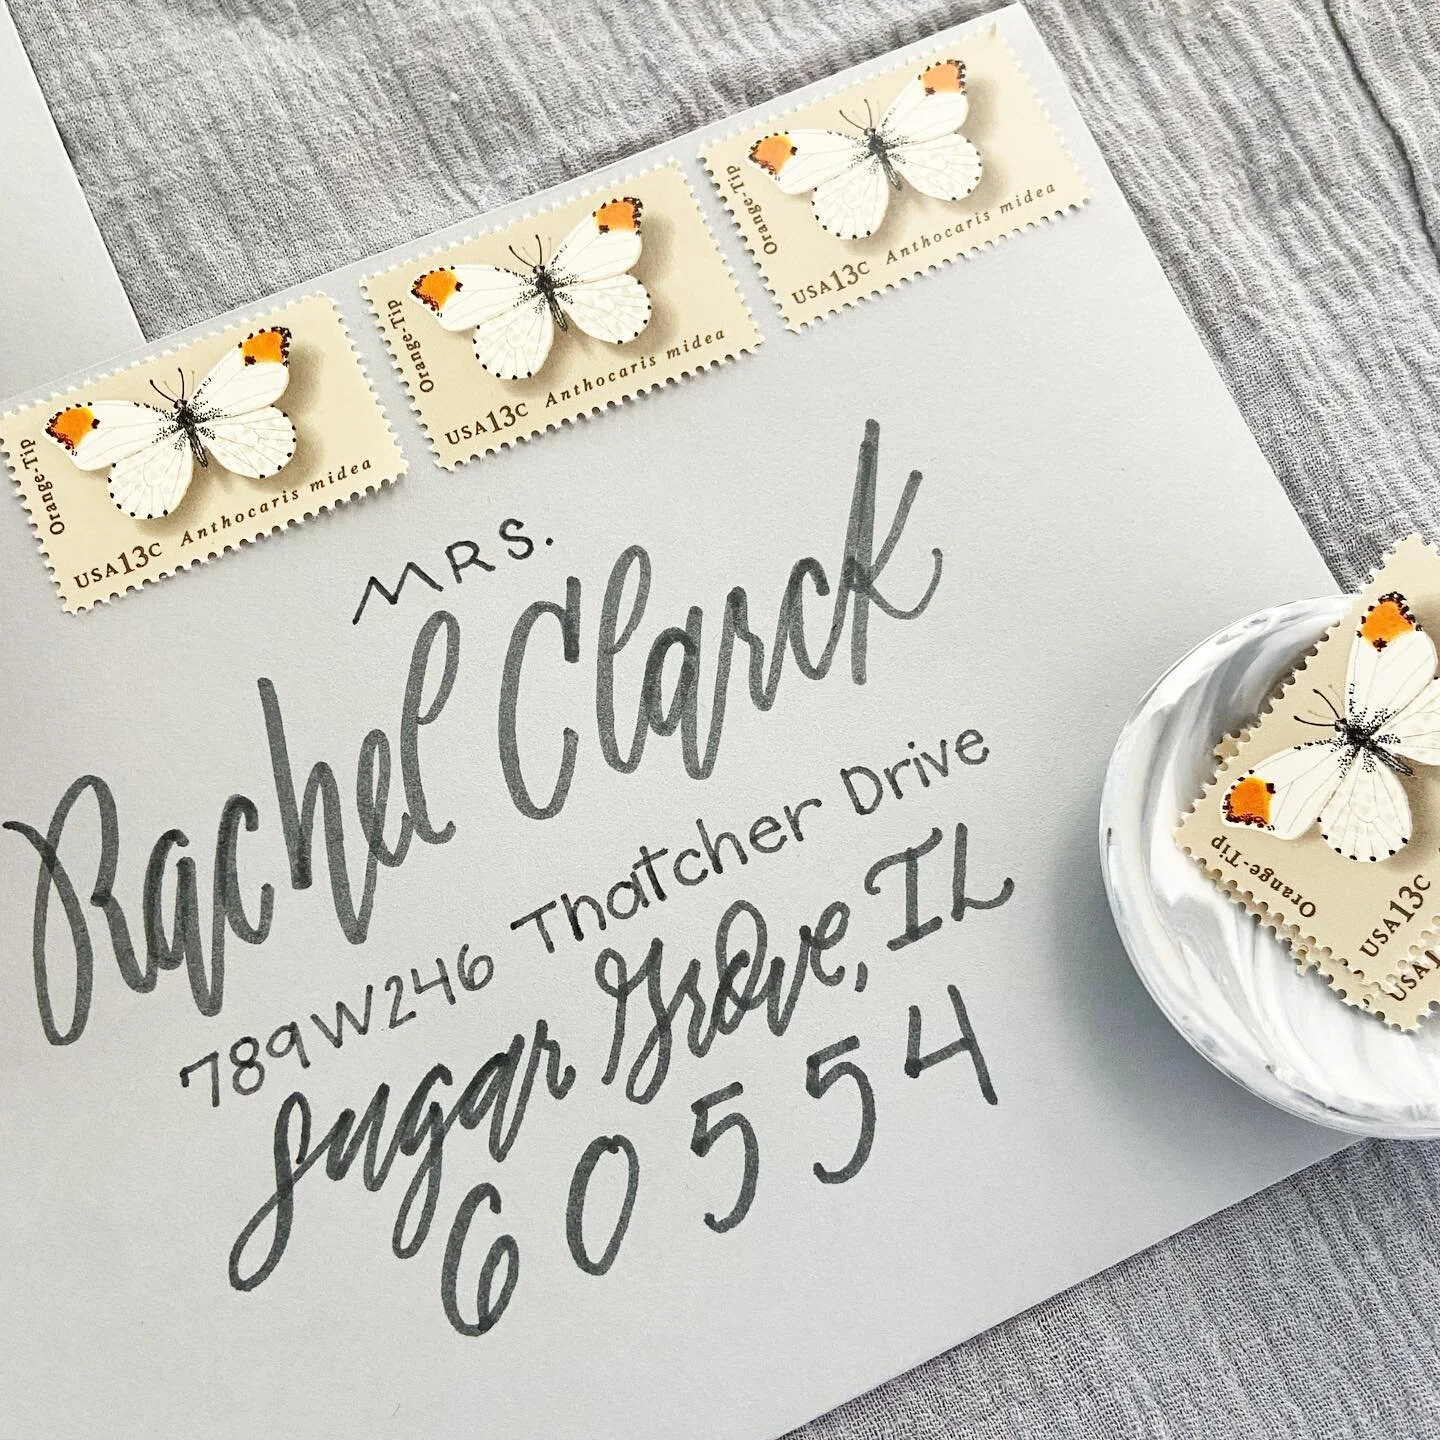
Postage Stamps
One thing your should not overlook is your postage stamp. This small item can make or break the mood of the front of your envelope, choose wisely! There are a handful of beautiful options from the USPS. As well, you can choose vintage stamps totaling the right price for a layered look that will stand out in your guest’s mailboxes.
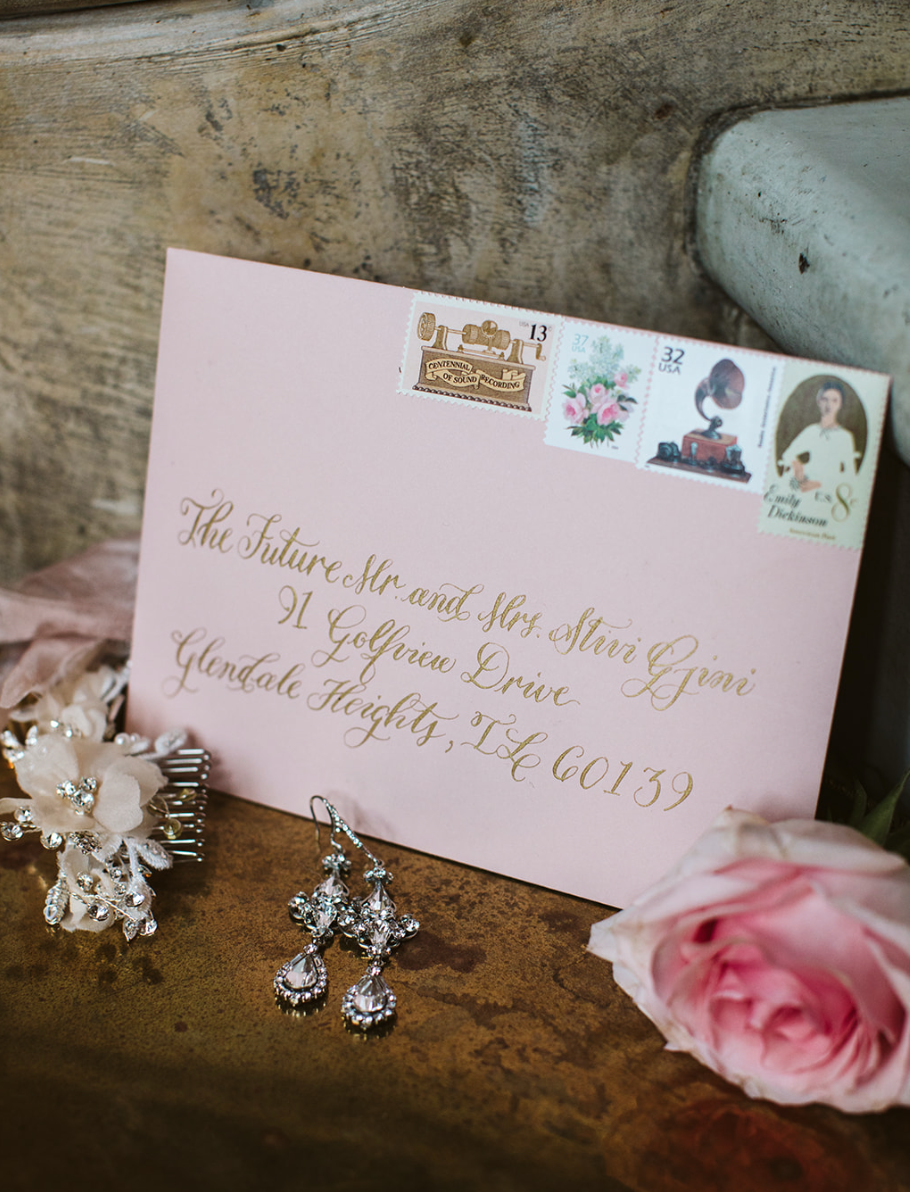
Photo by Jason Adrian Photo

You can include as many of these items as you see fit and are helpful for your wedding weekend. Just remember, the two most important items are the invite and RSVP, then build your suite from there! Next week, I will be talking about the importance of invitation wording.
As always, if you have a question-feel free to message me!